What are the steps in AC installation? A 10 Steps guide

By Urban Company
4 min read
Apr 26, 2025
Discover the essential 10-step guide to AC installation
As the summer heat starts to intensify, the thought of installing an air conditioner becomes increasingly appealing. However, the process of AC installation involves more than just placing a unit in your home or office. It requires meticulous planning, precise execution, and attention to detail to ensure optimal performance and longevity of your cooling system. Make sure to take care of these 10 steps when getting an
AC installation service
Step 1: Selecting the Right Location
The first step in AC installation is choosing the optimal location for your unit. This decision is crucial as it directly impacts the efficiency and effectiveness of your air conditioner. For window ACs, selecting a window with proper support and access to an electrical outlet is paramount. The chosen window should also allow for unobstructed airflow both inside and outside the room. In the case of split AC installation, the indoor unit's placement is critical. It should be mounted on a sturdy wall, away from direct sunlight or heat sources, to ensure efficient cooling. Additionally, the outdoor unit should be placed on a flat surface, free from obstructions such as plants or debris, to facilitate proper airflow and heat dissipation.
Step 2: Preparing the Installation Site
Before the actual installation begins, it's essential to prepare the site thoroughly. This includes cleaning the area to remove any dust or debris that could interfere with the installation process. Additionally, ensure that the electrical wiring and circuitry are in good condition and can support the AC's power requirements. Any necessary repairs or upgrades should be completed before proceeding with the installation.
Step 3: Installing the Mounting Bracket
For split AC installations, installing the mounting bracket for the indoor unit is the next step. This bracket provides essential support and stability for the unit, ensuring it remains securely in place. The bracket should be attached to the wall using screws and anchors, ensuring it can bear the weight of the indoor unit without any risk of detachment. In the case of window AC installation, we secure the main AC unit by installing a mounting bracket. This provides crucial support and steadiness, guaranteeing the unit stays firmly positioned. The bracket must be fastened to the window with screws and anchors to ensure it can support the weight of the indoor unit without any danger of coming loose.
Step 4: Mounting the Indoor Unit (for Split ACs)
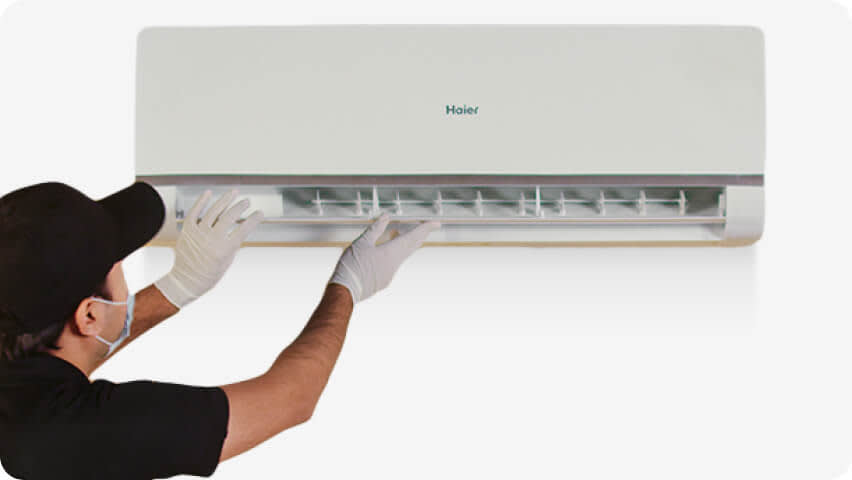
With the mounting bracket securely in place, the indoor unit can be mounted onto it. Careful attention should be paid to ensure the unit is level and securely fastened to the bracket. Using a spirit level during installation can help ensure the unit is perfectly horizontal, which is crucial for its optimal performance.
Step 5: Installing the Outdoor Unit (for Split ACs)
Simultaneously, the outdoor unit of the split AC needs to be installed in an appropriate location. It should be placed on a flat surface to ensure stability and proper operation. Additionally, adequate clearance should be provided around the unit to allow for unrestricted airflow and heat dissipation.
Step 6: Connecting the Refrigerant Lines and Electrical Wiring
Once both the indoor and outdoor units are in place, the next step is to connect the refrigerant lines and electrical wiring. This step requires precision and expertise to ensure proper connections and prevent any leaks or electrical hazards. It's crucial to follow the manufacturer's guidelines and specifications during this process to avoid any issues with the AC system's performance.
Step 7: Testing the System
After completing the installation and connections, it's time to test the AC system to ensure everything is functioning correctly. This includes checking for any unusual noises, leaks, or issues with airflow. Additionally, the cooling performance of the unit should be tested to ensure it's providing adequate cooling as per the desired settings.
Step 8: Sealing and Insulating Gaps (for Window ACs)
For window AC installations, sealing and insulating any gaps around the unit are essential steps. This helps prevent air leaks and improves energy efficiency by ensuring a tight seal between the unit and the window frame. Foam insulation or weatherstripping can be used to seal any gaps, ensuring maximum efficiency and performance of the window AC.
Step 9: Final Checks and Adjustments
Before concluding the installation process, it's essential to perform a final inspection of the AC system. This involves checking for any loose connections, leaks, or issues with airflow and making any necessary adjustments to ensure everything is functioning smoothly.
Step 10: Post-Installation Cleanup
Once the AC installation service is complete and the AC system has been tested, it's time to clean up the installation site. This includes removing any debris or packaging materials left behind during the installation process. Additionally, any tools or equipment used during installation should be properly stored or removed from the site.
Unlocking Comfort: The Ultimate Guide to AC Installation with Urban Company
With expert technicians and transparent pricing, Urban Company ensures that your AC installation experience is convenient, reliable, and affordable. While the market average charge for AC installation in India may vary depending on various factors such as the type of AC, location, and additional services required, Urban Company offers hassle-free
AC installationstarting at very nominal prices.

In conclusion, AC installation is a meticulous process that requires careful planning, precise execution, and attention to detail. By following these steps and entrusting the task to experienced professionals like Urban Company, you can ensure that your AC is installed correctly for optimal performance and efficiency, keeping you cool and comfortable even in the hottest of summers.
Our Services
AC service
4.83 (11.5K reviews)
Starts at ₹449
Deep cleaning with Foam & Power-jet technology for both indoor & outdoor units
Enhance AC cooling with Powerjet Technology for superior cleaning
Prevents frequent gas leakages through unique anti-rust formula
Explore
AC repair & gas refill
4.83 (41.3K reviews)
Starts at ₹299
Detailed issue diagnosis with same day resolution
Thorough diagnosis, leak identification & fixing, gas refill to avoid leakages
Explore
AC install & uninstall
4.88 (84.9K reviews)
Starts at ₹499
Installation of indoor & outdoor units with free gas check
Uninstallation of both indoor & outdoor units
Explore


